

What is the installation process of a classic style PVC bathroom cabinet?
Jun 02, 2025
Hey there! As a supplier of classic style PVC bathroom cabinets, I often get asked about the installation process. It's a pretty straightforward task, but there are a few key steps you need to follow to ensure everything goes smoothly. So, let's dive right in and break down the installation process step by step.
Step 1: Preparation
First things first, you need to gather all the tools and materials you'll need for the installation. Here's a basic list to get you started:
- Screwdriver (both flathead and Phillips)
- Drill
- Level
- Measuring tape
- Pencil
- Silicone caulk
- Shims
- Wall anchors (if necessary)
Make sure you have everything on hand before you start, so you don't have to stop in the middle of the installation to run to the store.
Next, you'll want to measure the space where you plan to install the cabinet. This is crucial to ensure that the cabinet fits properly and looks great in your bathroom. Measure the width, height, and depth of the area, and compare these measurements to the dimensions of the cabinet you've purchased. If there are any discrepancies, you may need to make some adjustments or choose a different cabinet.
Step 2: Wall Marking
Once you've measured the space, it's time to mark the wall where the cabinet will be installed. Use a level and a pencil to draw a horizontal line at the desired height for the top of the cabinet. This line will serve as a guide when you're hanging the cabinet.

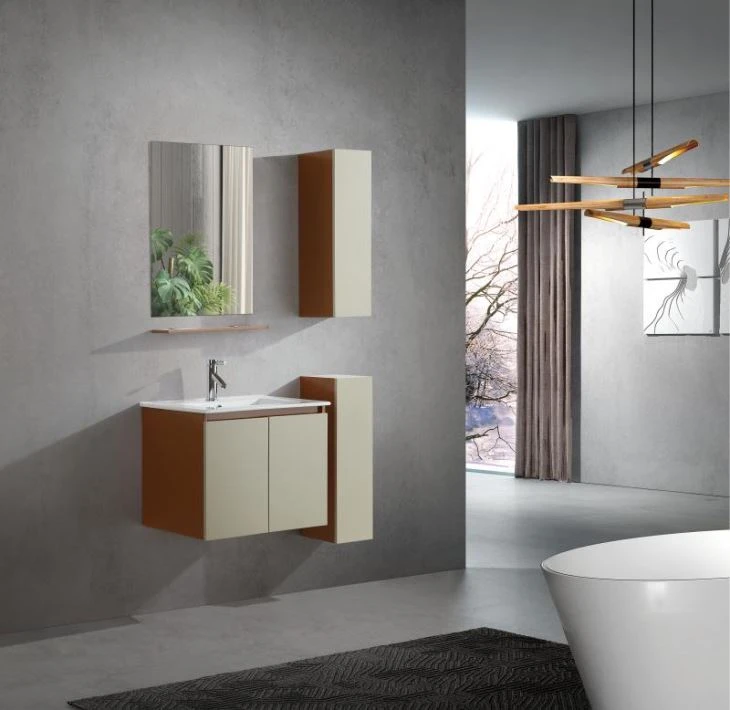
Next, measure and mark the locations for the wall brackets or mounting holes. Most classic style PVC bathroom cabinets come with pre-drilled holes for easy installation. Use a measuring tape to ensure that the marks are evenly spaced and level.
Step 3: Cabinet Assembly
Before you hang the cabinet on the wall, you'll need to assemble it. This usually involves attaching the doors, drawers, and any other components that come with the cabinet. Follow the manufacturer's instructions carefully to ensure that everything is assembled correctly.
Start by attaching the doors and drawers to the cabinet frame. Use the provided screws and hardware, and make sure that the doors and drawers open and close smoothly. If you encounter any problems during the assembly process, don't hesitate to contact the manufacturer for assistance.
Step 4: Wall Mounting
Now that the cabinet is assembled, it's time to hang it on the wall. If your cabinet comes with wall brackets, attach them to the back of the cabinet using the provided screws. Make sure that the brackets are level and securely attached.
Next, hold the cabinet up against the wall, aligning it with the horizontal line and the marks you made for the wall brackets. Use a level to ensure that the cabinet is perfectly level. If necessary, use shims to adjust the height and level of the cabinet.
Once the cabinet is level, mark the locations of the wall bracket holes on the wall. Use a drill to create pilot holes in the wall, and then insert wall anchors if necessary. Finally, attach the cabinet to the wall using the provided screws and wall brackets.
Step 5: Plumbing Installation
After the cabinet is securely mounted on the wall, it's time to install the plumbing. This includes connecting the sink to the water supply lines and the drain pipe. If you're not familiar with plumbing, it's a good idea to hire a professional plumber to do this part of the installation for you.
Start by attaching the sink to the cabinet using the provided mounting hardware. Make sure that the sink is level and securely attached. Next, connect the water supply lines to the faucet and the shut-off valves. Use a wrench to tighten the connections, but be careful not to overtighten them.
Finally, connect the drain pipe to the sink and the P-trap. Make sure that the connections are tight and leak-free. If you notice any leaks, tighten the connections or use plumber's tape to seal them.
Step 6: Finishing Touches
Once the plumbing is installed, it's time to add the finishing touches to your classic style PVC bathroom cabinet. This includes caulking around the edges of the sink and the cabinet to prevent water from seeping in. Use a silicone caulk that is specifically designed for use in bathrooms, and apply it evenly using a caulk gun.
Next, install the cabinet handles and knobs. This is a simple way to add a personal touch to your cabinet and make it look more stylish. Choose handles and knobs that match the style of your cabinet and your bathroom decor.
Step 7: Testing
Before you consider the installation complete, it's important to test the cabinet and the plumbing to make sure that everything is working properly. Turn on the water supply and check for any leaks in the water supply lines and the drain pipe. Open and close the doors and drawers to make sure that they operate smoothly.
If you notice any problems during the testing process, don't hesitate to make the necessary adjustments or repairs. It's better to catch and fix any issues early on than to have to deal with them later.
Conclusion
And there you have it! That's the installation process for a classic style PVC bathroom cabinet. While it may seem like a daunting task at first, following these steps will help you ensure that the installation goes smoothly and that your cabinet looks great in your bathroom.
If you're in the market for a classic style PVC bathroom cabinet, be sure to check out our selection of 24” Single Sink Vanity, PVC Vanity For Bathroom, and Modern PVC Bathroom Vanity Cabinet. We offer high-quality cabinets at competitive prices, and our team of experts is always available to answer any questions you may have.
If you're interested in purchasing a classic style PVC bathroom cabinet or have any questions about the installation process, please don't hesitate to contact us. We'd be happy to help you find the perfect cabinet for your bathroom and provide you with all the information you need to ensure a successful installation.
References
- Manufacturer's installation instructions
- Plumbing installation guides