

How to install a PVC bathroom cabinet on a uneven wall?
Jan 12, 2026
Hey there! I'm a supplier of PVC bathroom cabinets, and I know that installing a cabinet on an uneven wall can be a real headache. But don't worry, I've got you covered. In this blog post, I'll walk you through the step-by-step process of installing a PVC bathroom cabinet on an uneven wall.
Step 1: Measure and Plan
First things first, you need to measure the space where you want to install the cabinet. Use a tape measure to get the height, width, and depth of the area. Make sure to measure the wall as well, paying close attention to any uneven spots. This will help you determine the best way to install the cabinet and ensure a proper fit.
Once you have your measurements, it's time to plan the installation. Decide where you want to place the cabinet and mark the spots on the wall where you'll be attaching it. You can use a level to make sure your marks are straight and even.
Step 2: Gather Your Tools and Materials
Before you start the installation, you'll need to gather all the necessary tools and materials. Here's a list of what you'll need:
- PVC bathroom cabinet (you can check out our PVC Bath Cabinet for some great options)
- Drill
- Screwdriver
- Wall anchors
- Screws
- Level
- Measuring tape
- Pencil
- Shims (for leveling the cabinet on an uneven wall)
Step 3: Prepare the Wall
Now that you have your tools and materials, it's time to prepare the wall. Start by cleaning the wall surface to remove any dirt, dust, or debris. This will help the cabinet adhere better to the wall.
Next, use a stud finder to locate the wall studs. Wall studs are the vertical wooden beams behind the wall that provide support. It's best to attach the cabinet to the wall studs for a secure installation. If you can't find any wall studs in the area where you want to install the cabinet, you'll need to use wall anchors.
Step 4: Install the Wall Mounts
Once you've located the wall studs or marked the spots for the wall anchors, it's time to install the wall mounts. If you're attaching the cabinet to the wall studs, simply drill pilot holes into the studs using a drill. Then, use a screwdriver to attach the wall mounts to the studs with screws.
If you're using wall anchors, drill holes in the wall according to the size of the wall anchors. Insert the wall anchors into the holes and tap them in gently with a hammer until they're flush with the wall. Then, attach the wall mounts to the wall anchors using screws.
Step 5: Level the Cabinet
This is where things get a little tricky, especially if you have an uneven wall. Before you attach the cabinet to the wall mounts, you'll need to level the cabinet. Place the cabinet against the wall and use a level to check if it's straight. If the cabinet is uneven, you can use shims to level it.
Shims are thin pieces of wood or plastic that you can insert between the cabinet and the wall to fill in the gaps and make the cabinet level. Start by placing a shim at the bottom of the cabinet where it's lower than the rest. Then, check the level again and add or remove shims as needed until the cabinet is perfectly level.
Step 6: Attach the Cabinet to the Wall Mounts
Once the cabinet is level, it's time to attach it to the wall mounts. Lift the cabinet and align it with the wall mounts. Then, use a screwdriver to insert screws through the holes in the cabinet and into the wall mounts. Make sure the screws are tightened securely to hold the cabinet in place.
Step 7: Check the Alignment and Stability
After attaching the cabinet to the wall mounts, double-check the alignment and stability. Use a level to make sure the cabinet is still straight and level. Give the cabinet a gentle shake to see if it's secure. If you notice any wobbling or instability, tighten the screws or add more shims as needed.
Step 8: Install the Basin (if applicable)
If your PVC bathroom cabinet comes with a basin, now is the time to install it. Follow the manufacturer's instructions for installing the basin. This may involve attaching the basin to the cabinet using brackets or screws, and connecting the plumbing.
Step 9: Finish the Installation
Once the cabinet and basin are installed, it's time to finish the installation. Seal the edges of the cabinet and basin with caulk to prevent water from seeping behind the cabinet. You can also add any finishing touches, such as handles or knobs, to the cabinet doors and drawers.
Step 10: Test the Cabinet
Finally, test the cabinet to make sure everything is working properly. Open and close the cabinet doors and drawers to make sure they slide smoothly. Turn on the water and check for any leaks in the plumbing. If everything looks good, congratulations! You've successfully installed a PVC bathroom cabinet on an uneven wall.
Tips and Tricks
- If you're having trouble leveling the cabinet, you can use a laser level for more accurate results.
- Make sure to wear safety goggles and gloves when using power tools.
- If you're not comfortable doing the installation yourself, you can always hire a professional handyman to do it for you.
Conclusion
Installing a PVC bathroom cabinet on an uneven wall may seem like a daunting task, but with the right tools, materials, and a little patience, it's definitely doable. By following the steps outlined in this blog post, you can install a beautiful and functional PVC bathroom cabinet in your home.
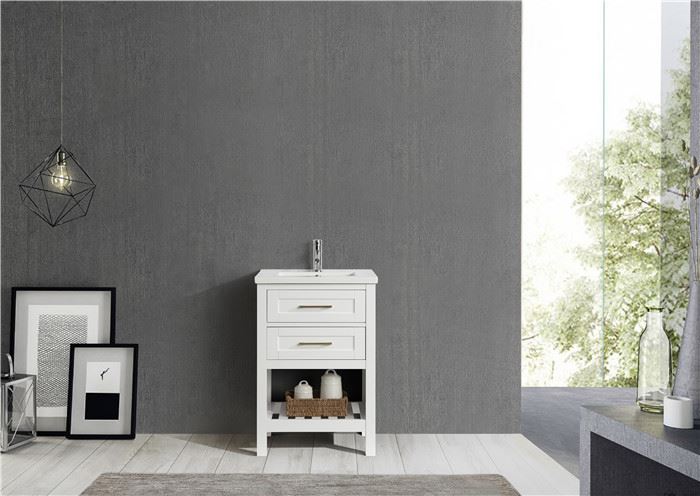
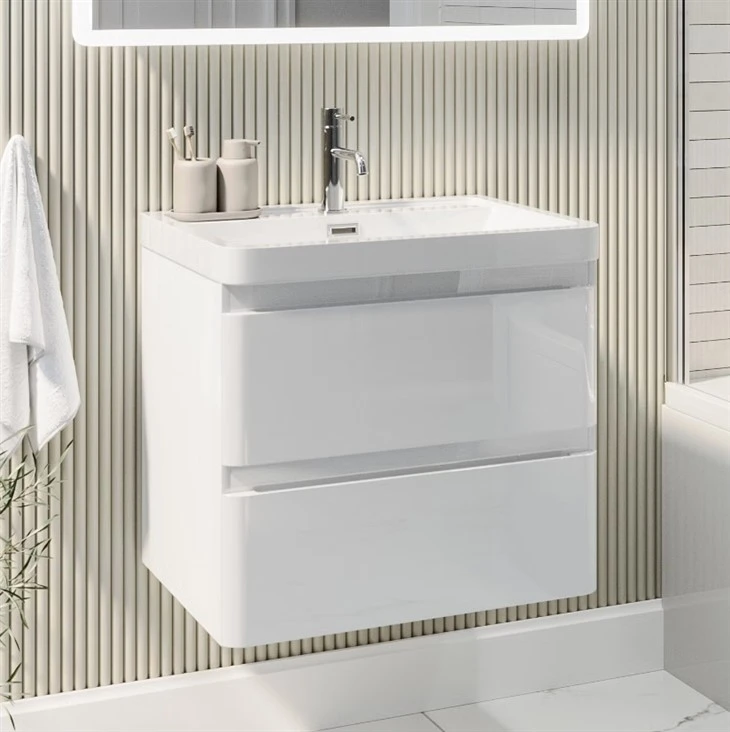
If you're in the market for a high-quality PVC bathroom cabinet, be sure to check out our White Wall Hung Bathroom Vanity Unit With Basin and White PVC Bathroom Vanity. We offer a wide range of styles and sizes to suit your needs and budget.
If you have any questions or would like to discuss your procurement needs, feel free to reach out to us. We're here to help you find the perfect PVC bathroom cabinet for your home.
References
- DIY Home Improvement Guides
- PVC Bathroom Cabinet Manufacturer's Instructions